The Build
Tacking the tubes together, drilling the hole pattern with hardened bushings in a 3D-printed block, then welding the end caps and nut for the clamp.
Keeping the tubes aligned
Alignment between the two tubes was critical: if one hole is off, its neighbors take the strain when the clamp tightens and that tine will be loose. So before drilling anything, I centered the inner tube in the outer tube and welded the ends together. The pair then drills as one piece. The end weld gets cut off afterwards to free the inner tube.
Drilling the hole pattern
The drill guide is a 3D-printed block with hardened steel drill bushings pressed in. They’re Type H head press-fit bushings for a 7/32 in drill, 1 3/8 in tall. I drilled with 7/32 in 135 degree HSS jobber bits.
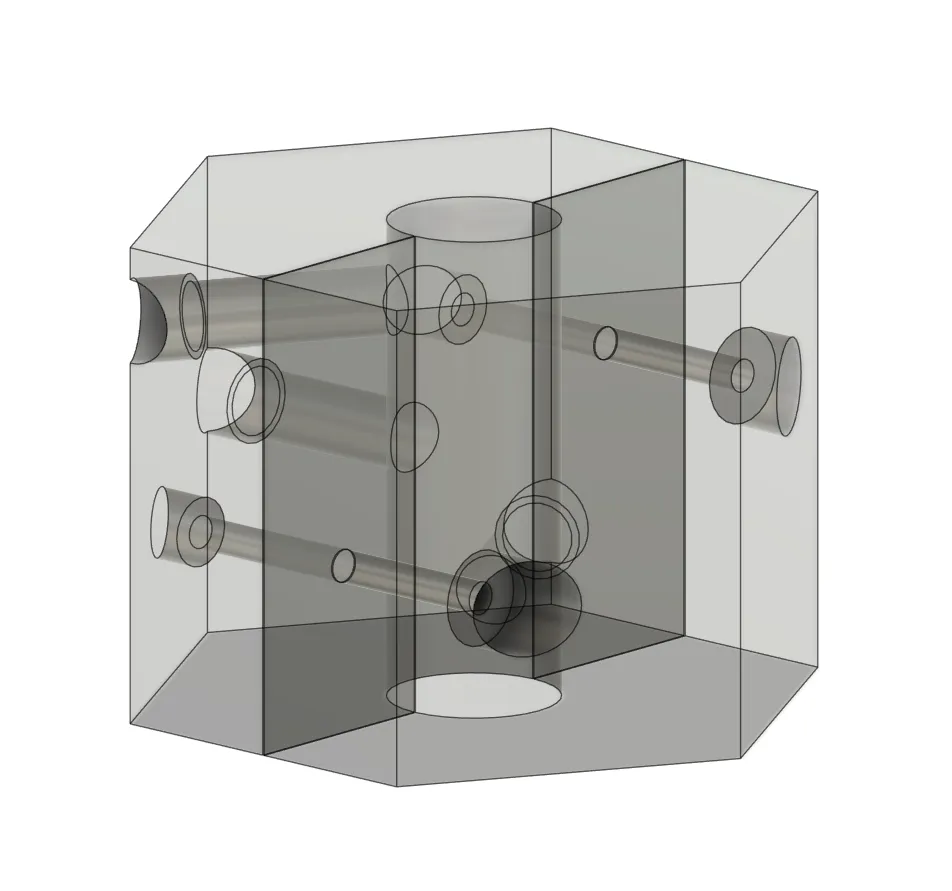
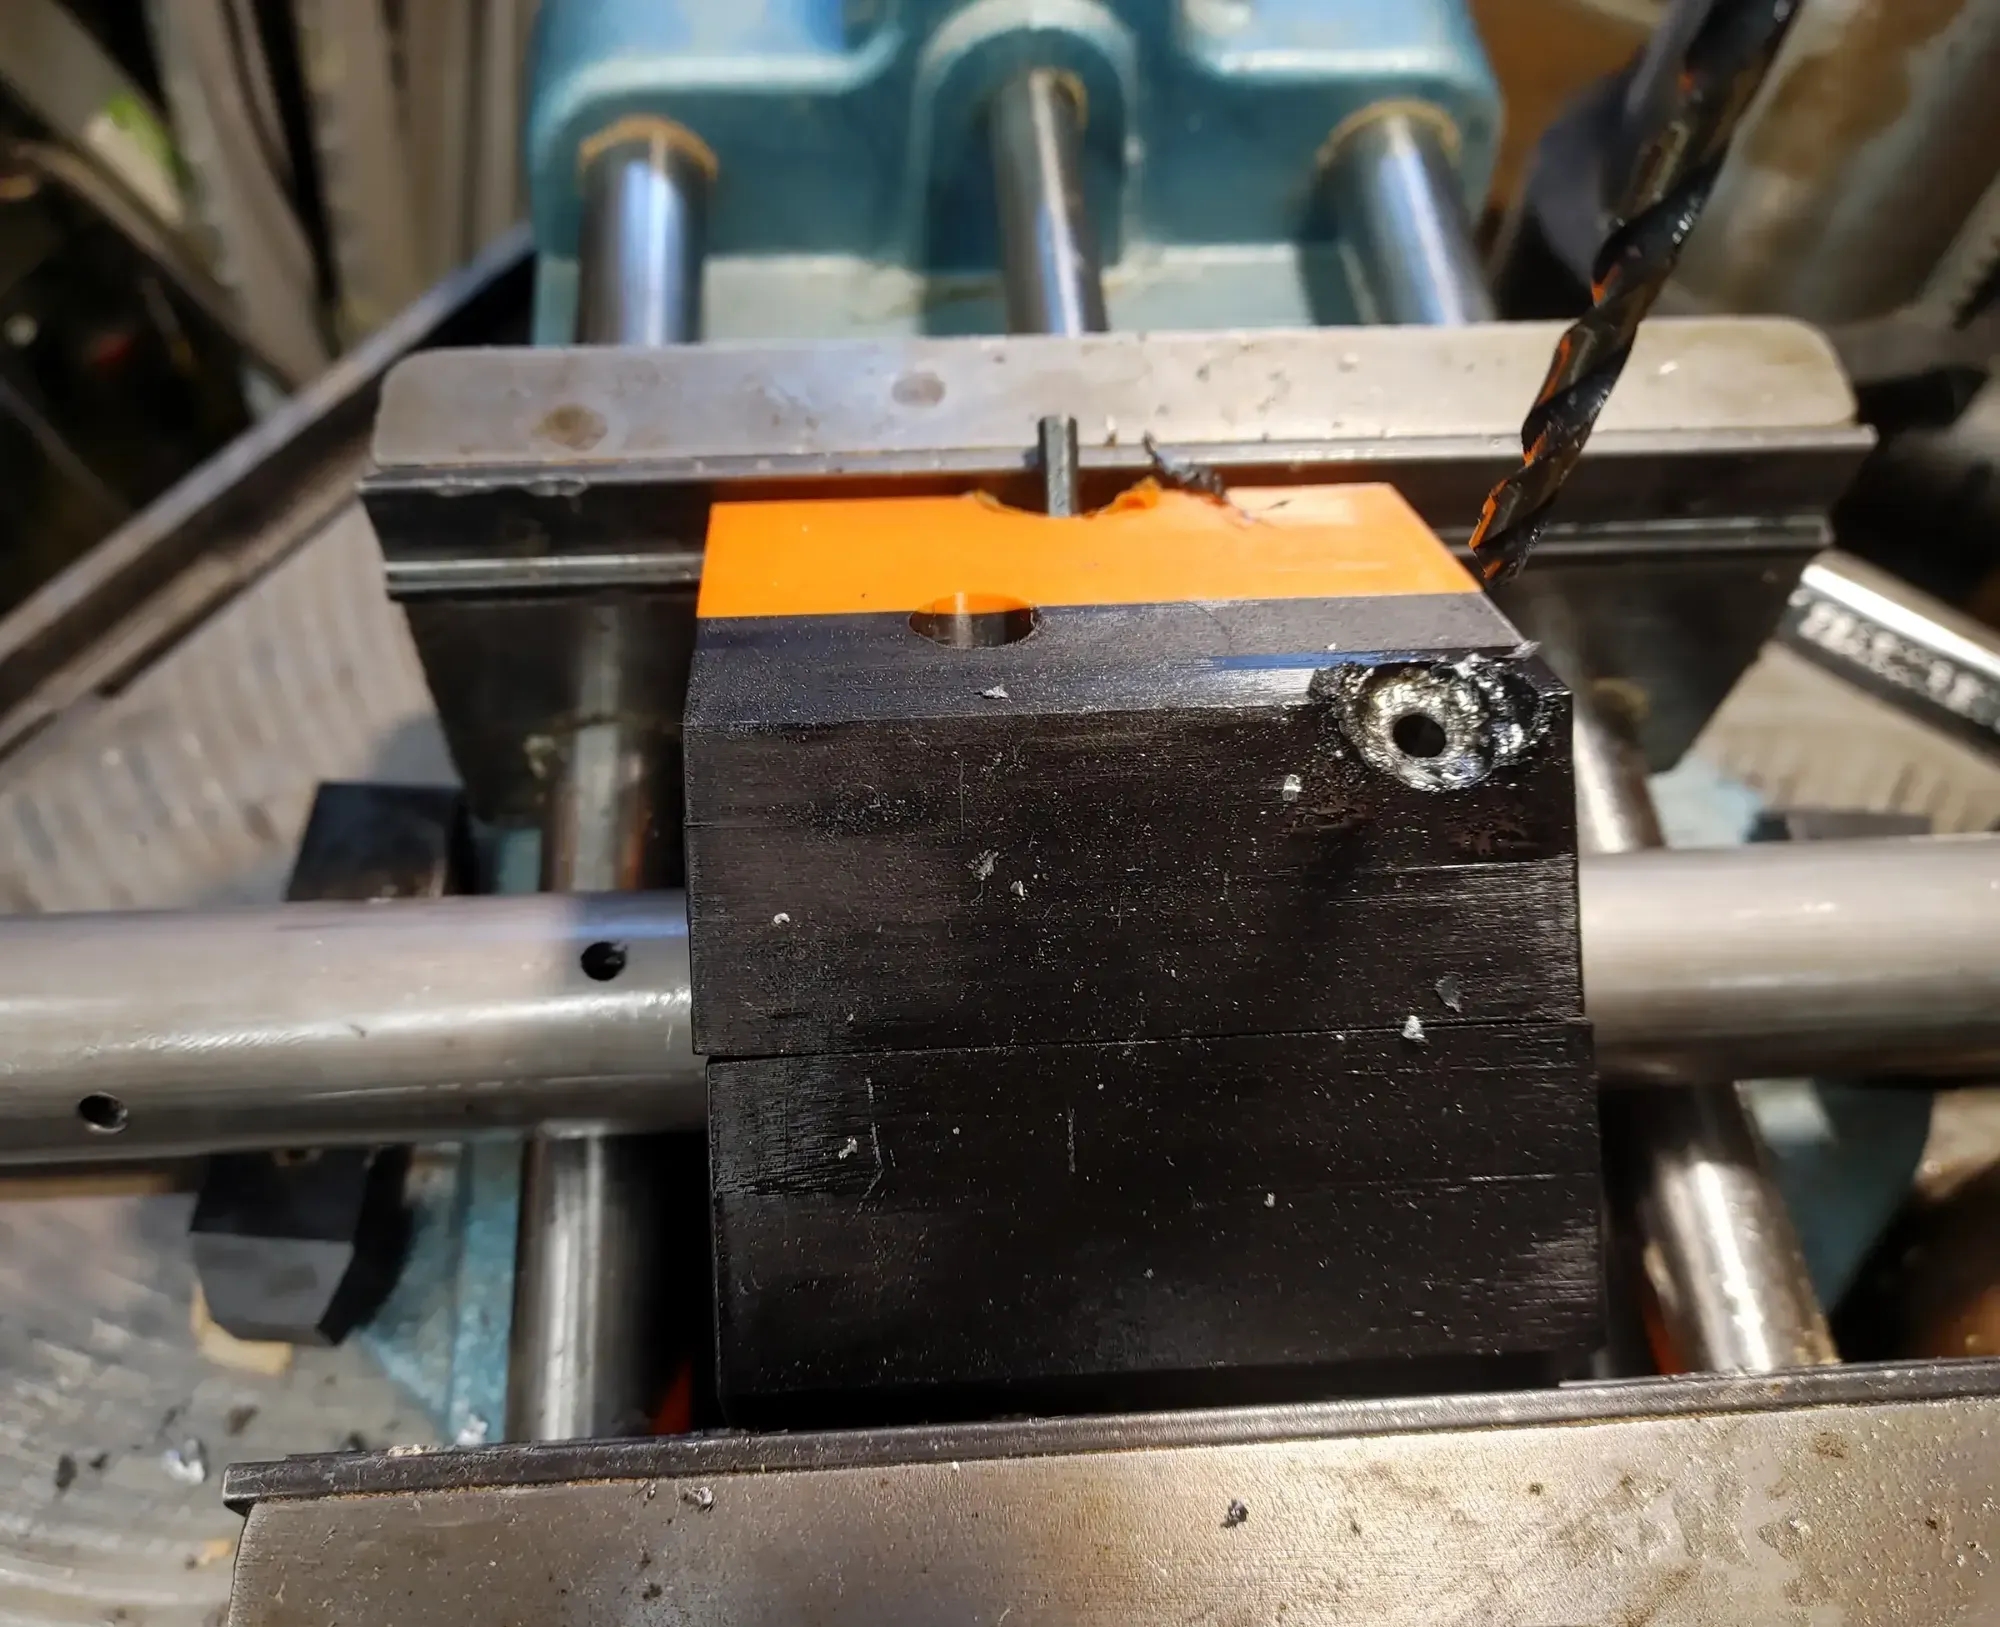
The process was to drill the first three holes, then move the block along and put a spare 7/32 bit through the last hole and bushing to keep alignment, and drill the next ones. Repeating that walks the pattern down the tube.
The model is on Printables if you want to print one: Guide for drilling radial holes in round tube. I printed it in PLA and it held up fine. The STEP file is in the Printables upload too.
End caps and the clamp
Next I welded an end cap and a nut on the end of the outer tube, and an end cap on the inner tube. That’s the clamp: the bolt threads through the nut and presses on the inner tube’s cap.
Finishing
After that it was a quick test fit and trial (where I decided to add the wheels) then a few coats of paint and it was time to put it to use!